Agenda
1. Prerequisites
2. Adding Domains
3. Understanding Each Tool
4. Sharing Access with Other Users
Prerequisites to Getting Started
Before you get started, make sure you have the following:
- A main Google Account that will be the Administrator for Google Postmaster Tools
(It is recommended to use an account that can be shared with others) - Access to your domain DNS Records
Adding and Verifying Domains
1. Visit postmaster.google.com and log in to your Google Account
2. Click on the “+” icon to add your sending domain (this may be the parent domain such as thundershank.us, or a subdomain like rewards.thundershank.us)
3. Verify the ownership of your domain in one of two ways:
a. Add a TXT record in your domain DNS settings
b. Add a CNAME in your domain DNS settings
4. Once either of the two records are in place, click on verify
5. Finally click on your verified domain to see the results
Understanding Each of the Tools
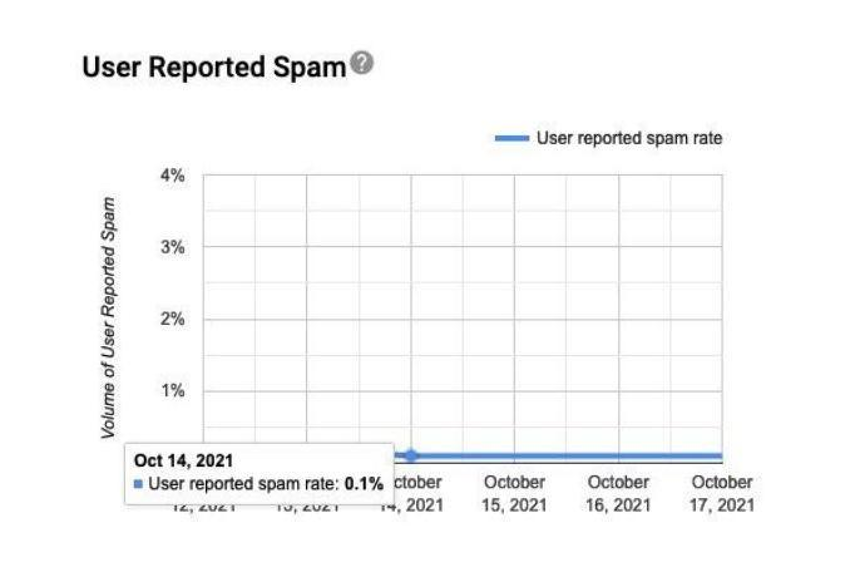
User Reported Spam
Shows volume of spam complaints (abuse). Only emails authenticated by DKIM are eligible for spam complaint calculation. You should keep spam complaint rate below 0.1%.
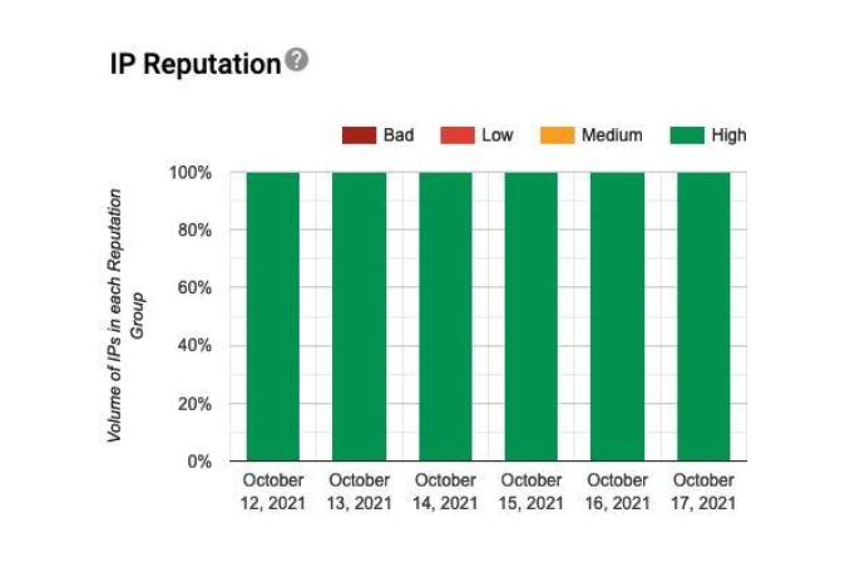
IP Reputation
Shows the reputation of IPs from which you send out emails. By clicking on a data point, you can display a sample of IP ranges from which your emails were sent.
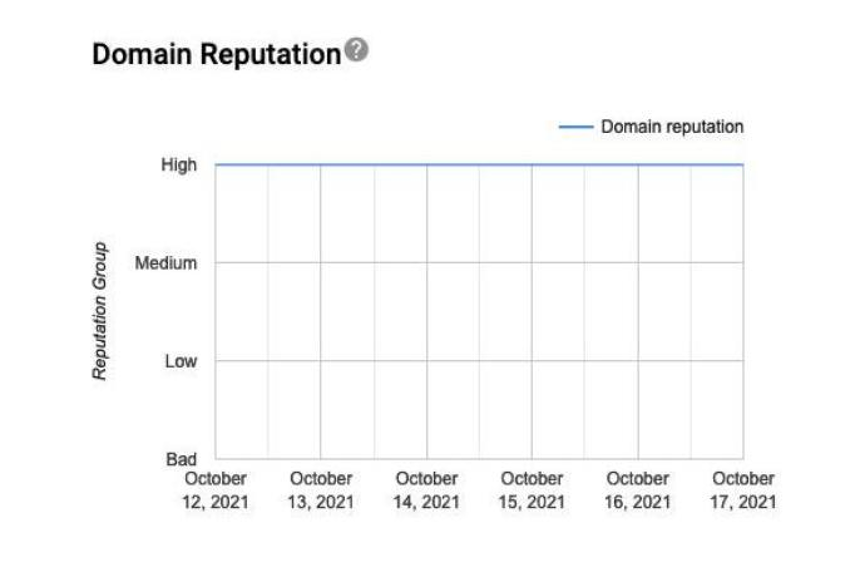
Domain Reputation
Shows the level of your domain reputation. The higher the reputation, the more likely messages are being delivered to one of the Inbox folders.
Spam Feedback Loop (across flagged Identifiers)
This dashboard is available after you set up the Gmail Spam Feedback Loop (FBL). To view a table with the identifiers flagged by FBL and their corresponding spam rates, click any data point on the graph.

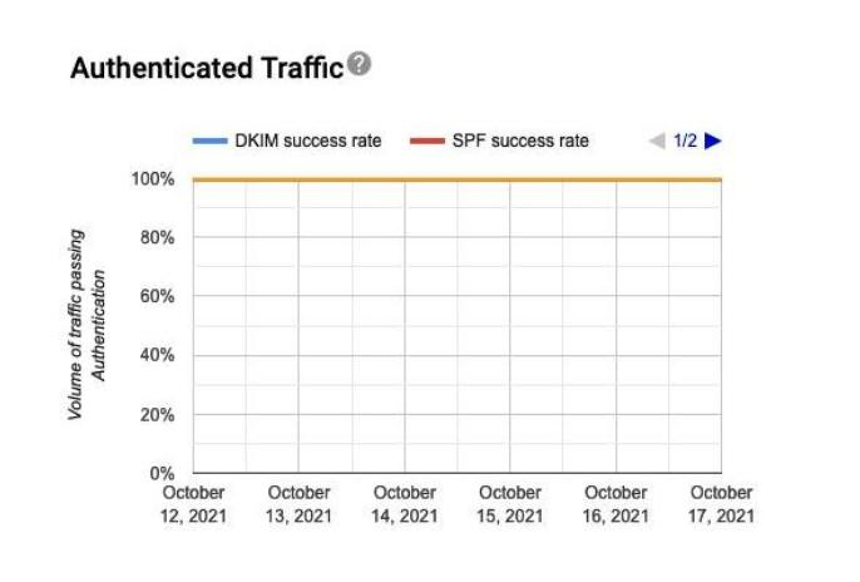
Authenticated Traffic
Shows traffic that passed SPF, DKIM & DMARC, over all received traffic that attempted authentification.
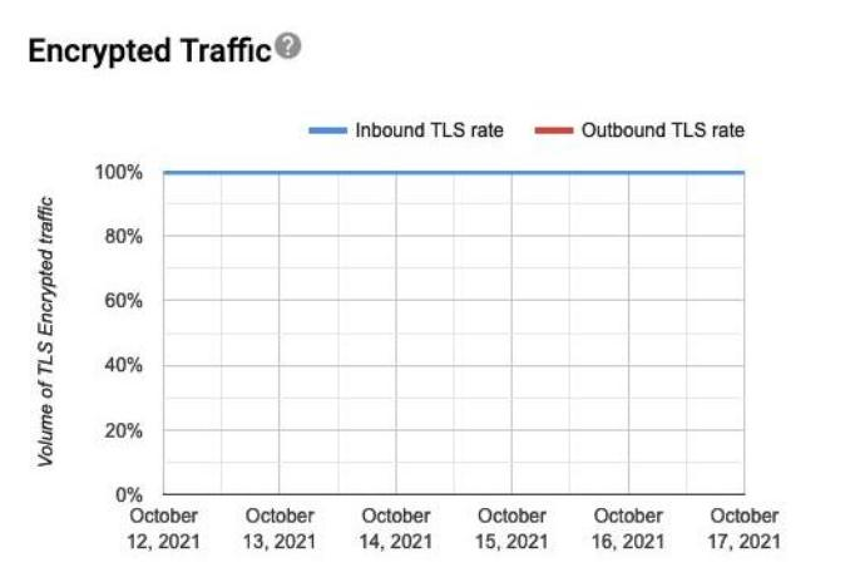
Encrypted Traffic
This dashboard shows what percentage of your inbound and outbound traffic is encrypted
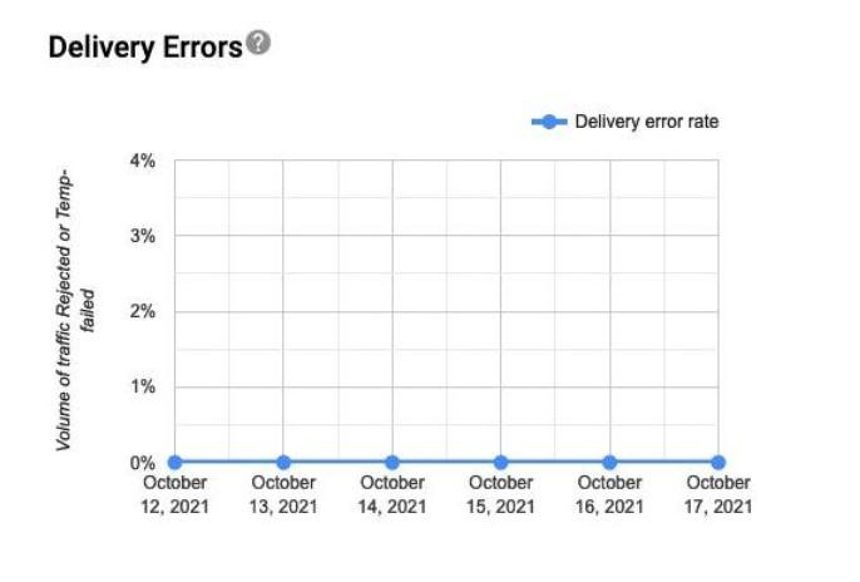
Delivery Errors
Shows rejected / temp-failed. traffic vs all authenticated traffic coming from that domain, within a single graph.
Interpreting the Reputation Levels
Bad - A history of sending an enormously high volume of spam. Mail coming from this entity will almost always be rejected at SMTP or marked as spam.
Low - Known to send a considerable volume of spam regularly. Mail from this sender will likely be marked as spam.
Medium / Fair - Known to send good mail, but is prone to sending a low volume of spam intermittently. Most of the email from this entity will have a fair deliverability rate, except when there is a notable increase in spam levels.
High - Has a good track record of a very low spam rate, and cpmplies with Gmail's sender guildlines. Mail will rarely be marked by the spam filter.
- Spam filtering is based on thousands of signals, and Domain & IP reputation are just two of them
- If your domain reputation is lower than IP reputation, you should pay attention to email engagement
Managing Access
Share Access with Other Users
Sometimes you may need to share access with others on your team or with an external resource. To share access to your GPT data:
- Navigate to postmaster.google.com and login with your Owner credentials
- Select the domain you want to share and click on the three dots
- Click on "Manage Users" and add your team members by selecting the "+" icon on the bottom right
- For Tenon Deliverability Services customers, add ""