Create an Email Send Profile
This guide provides a straightforward, step-by-step process for creating an Email Send Profile, ensuring you can efficiently manage your email communications. By following these instructions, you can easily set up profiles tailored to your needs, enhancing your email marketing or communication strategy. The tips included will help you make informed decisions, like setting a default profile for convenience. Overall, this guide streamlines the setup process, making it accessible even for beginners.
1. Navigate to Configure
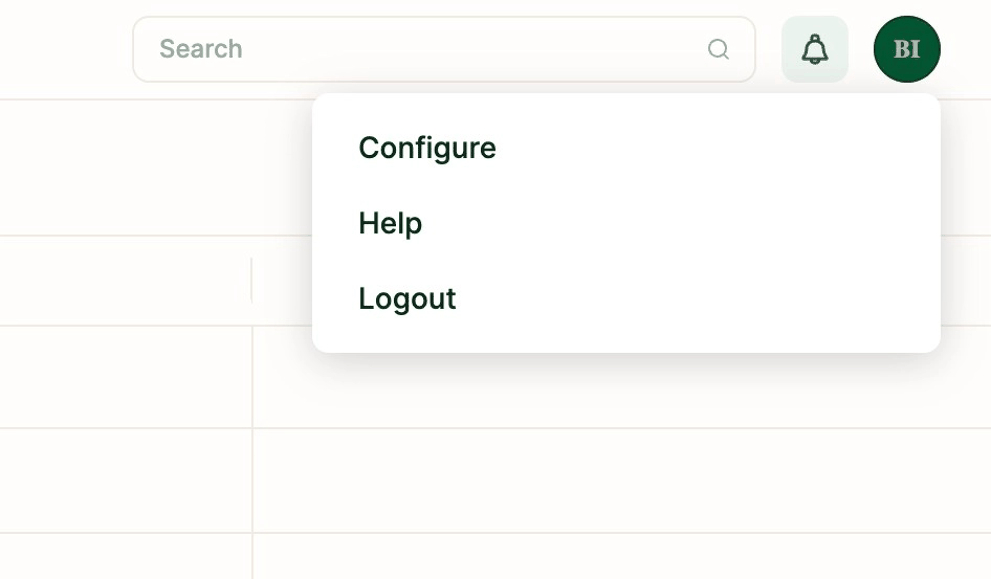
2. Click on "Email Send Profiles".

3. Click "+ Email Sender" to add a new Email Send Profile.

4. Enter the name of the Email Send Profile. Click Create.
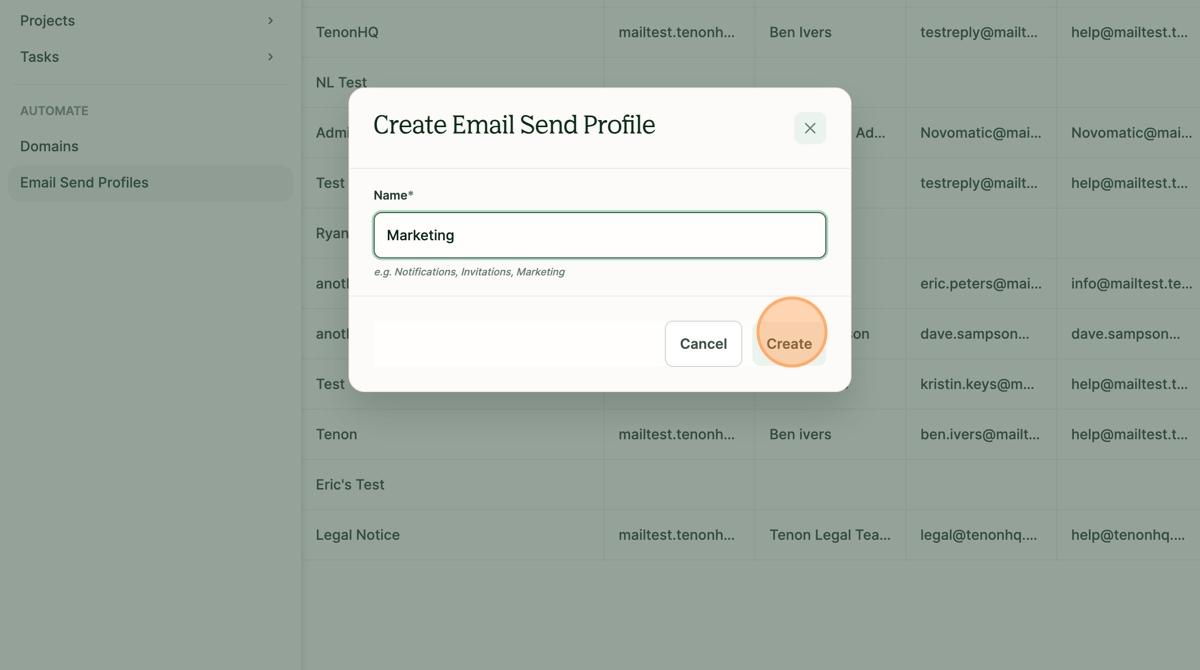
5. Tip! The name entered here is what will appear when selecting the Email Send Profile for an Email Send.
6. Choose the Sending Domain.

7. Fill out the From Name, From Email Address, and Reply-to Email Address.

8. Tip! If you would like this Email Send Profile to be selected by default, then check the box for "Set as Default Profile".
9. Click Save.
