Overview
This guide demonstrates how to add a root domain or subdomain to Cloudflare and configure the (sub)domain with each Tenon DNS record. This guide assumes that you have already created your CloudFlare Account.
While this guide is intended to be as helpful and comprehensive as possible, there is a small possibility that you will encounter an error or issue of some kind while configuring your DNS records within Cloudflare. If that is the case, we recommend contacting CloudFlare's support team as they will be able to most quickly identify and resolve the issue (or, at minimum, provide next steps).
Deciding Between a Root Domain and a Sub Domain
Deciding which domain to use - especially whether to use your root domain or a subdomain of that root domain - is key before proceeding any further. As this can be a challenging decision to make, we recommend reviewing the following informational articles if needed:
- Choosing a domain name
- The basics of email subdomains
- Can I use the same domain name for Tenon and my personal email account?
Let's briefly review two key terms: root domains and subdomains.
Examples of root domains include Service-Now.com, mydnsexample.com, or google.com. Examples of subdomains include Tenon.Service-Now.com, mg.mydnsexample.com, or mail.google.com. Notice the pattern: subdomains have an extra prefix (or sometimes multiple prefixes) before the primary domain name itself. In most cases using a subdomain with Tenon is preferred, but we cover this topic more comprehensively in the above articles.
Finally, once a decision has been reached, add the (sub)domain to your Tenon account, and our system will generate the various DNS records needed.
Adding the domain
There are three methods of adding a domain or subdomain within CloudFlare:
Method 1: Registering a new domain/subdomain with CloudFlare
Method 2: Transferring an existing (sub)domain from another DNS provider to CloudFlare
Method 3: Configuring an existing (sub)domain's nameservers within the Domain Registrar to reference CloudFlare rather than the current DNS provider
The first method of adding a (sub)domain within the CloudFlare Control Panel only takes 3 steps, and this method is covered in this article. We will list those steps below, but if desired, you can also reference CloudFlare's Adding (Buying) A Domain article. If you already have a domain purchased and registered elsewhere, you'll need to transfer the domain to CloudFlare (see the next paragraph) or configure your nameserver records to reference CloudFlare (see the paragraph after the next paragraph).
The second method of adding a (sub)domain within the CloudFlare Control Panel is not covered in this article; nonetheless, CloudFlare documents how the transfer process works within their system. .
A third method, configuring an existing (sub)domain's nameservers within the Domain Registrar to reference CloudFlare rather than the current DNS provider, is partially covered in this guide. Similar to the explanation in the second method above, changes in your Domain Registrar must be carefully and precisely made. As such, working directly with the Domain Registrar may be imperative for ensuring the nameserver (NS) records are updated appropriately. Nonetheless, we cover the CloudFlare side of the equation below.
Method 1: Registering for a new Domain / SubDomain with CloudFlare
Step 1: Login to your CloudFlare Account
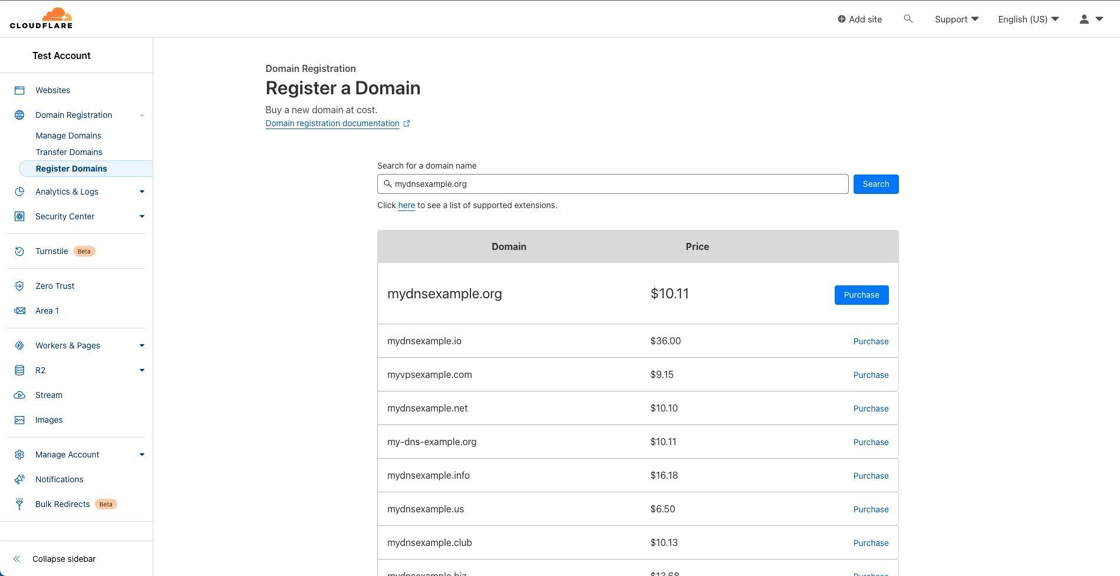
Step 2: Click the Domain Registration option (or better, the down arrow to it's right) on the left-hand navigation pane. Then, click the Register Domains sub-option. Finally, enter the new domain name you wish to add (buy/purchase) from Cloudflare inside the center textbox.
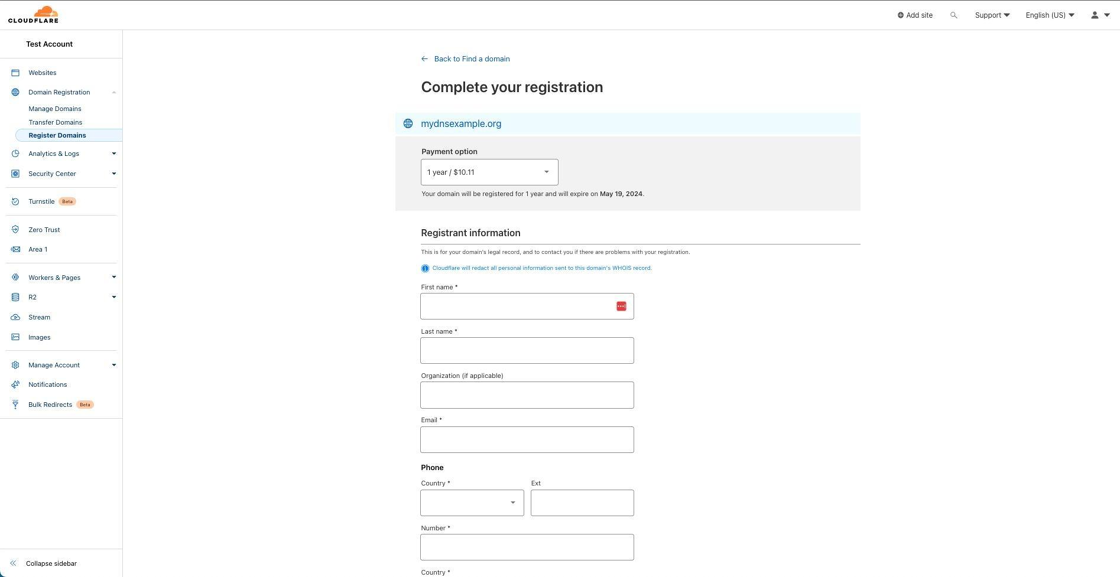
Step 3: Enter your contact information for ICANN and complete the domain registration process.
Method 2: Transferring an existing (sub)domain from another DNS provider to CloudFlare
Since transferring an existing (sub)domain from another DNS provider to CloudFlare is such an intricate and delicate process, we recommend following the instructions that CloudFlare has laid out here.
We also recommend contacting the Domain Registrar if you have any questions or encounter any issues regarding with the Domain Registration and Nameserver Management processes.
Finally, you can navigate to either of the following CloudFlare articles, which will provide additional information:
Method 3: Configuring an existing (sub)domain's nameservers within the Domain Registrar to reference CloudFlare rather than the current DNS provider
Step 1: Login to your CloudFlare Account
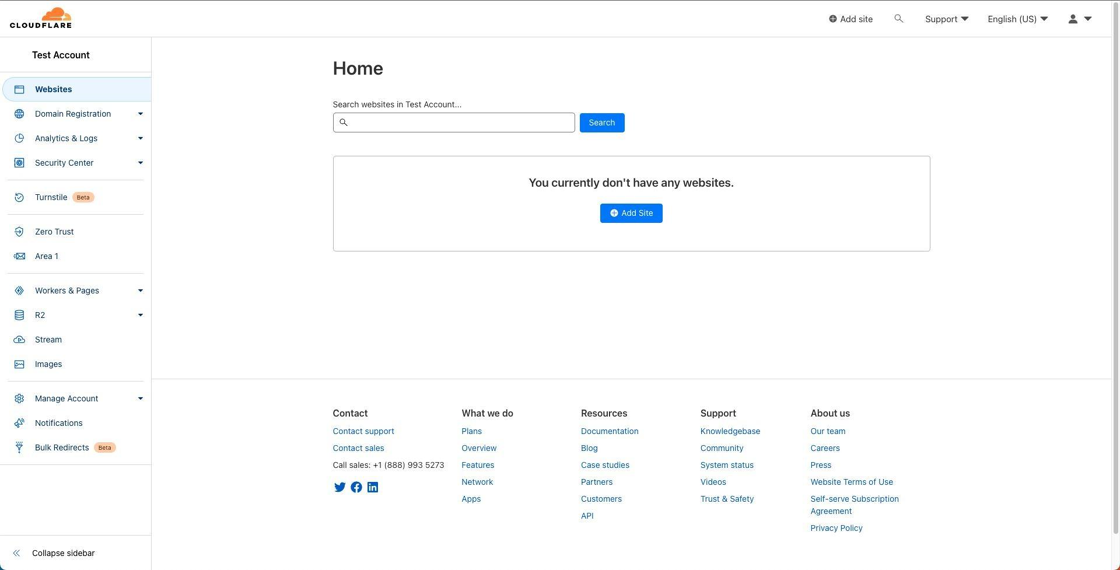
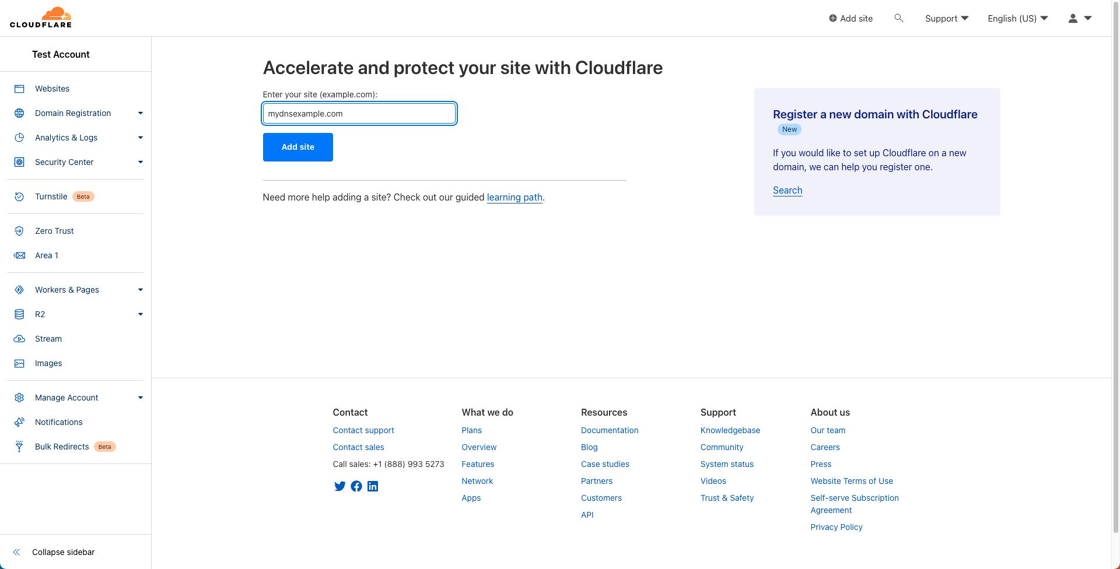
Step 2: Click the Websites option on the left-hand navigation pane. Then, click the Add Site button in the center of the page.
Step 3: Enter your existing (sub)domain in the textbox. Then, click the Add site button.
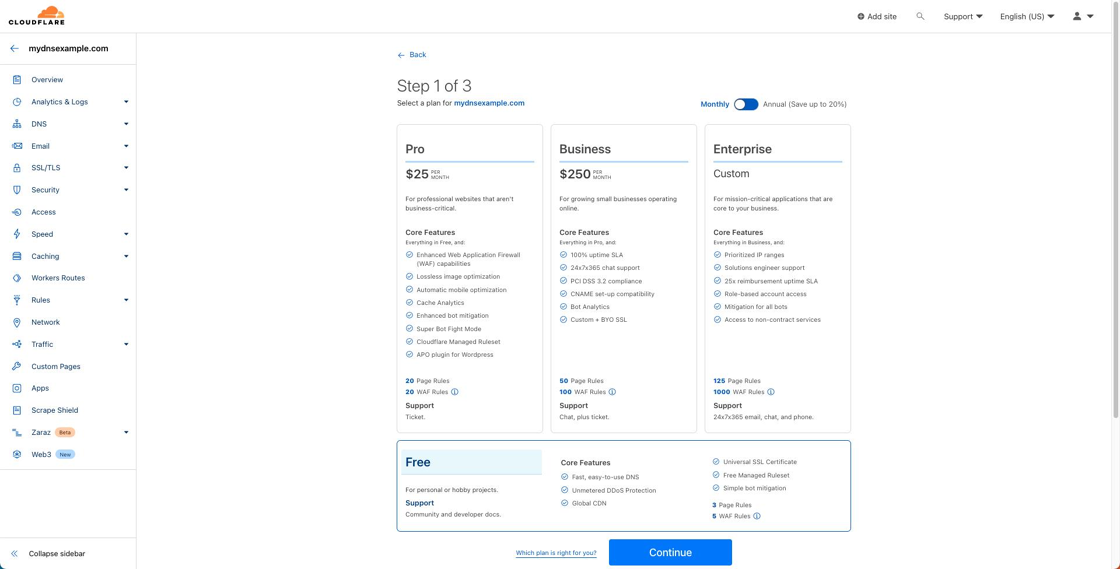
Step 4: Select the relevant plan for your needs. (This example selects the Free plan).
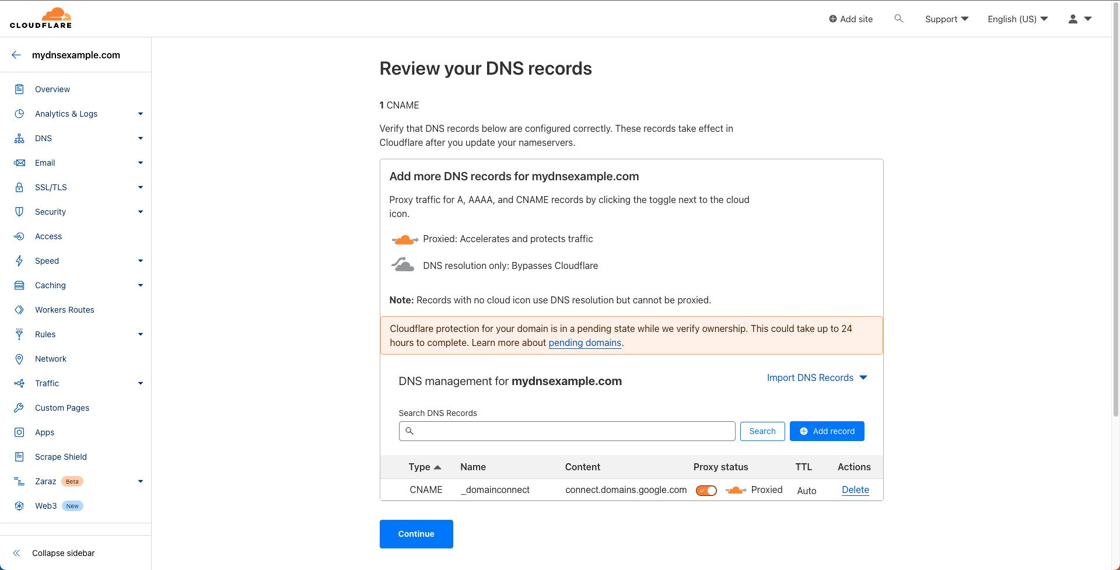
Step 5: Cloudflare will allow you to enter DNS records for your (sub)domain now. This is not required, however, and you can click the Continue button to add the records later.
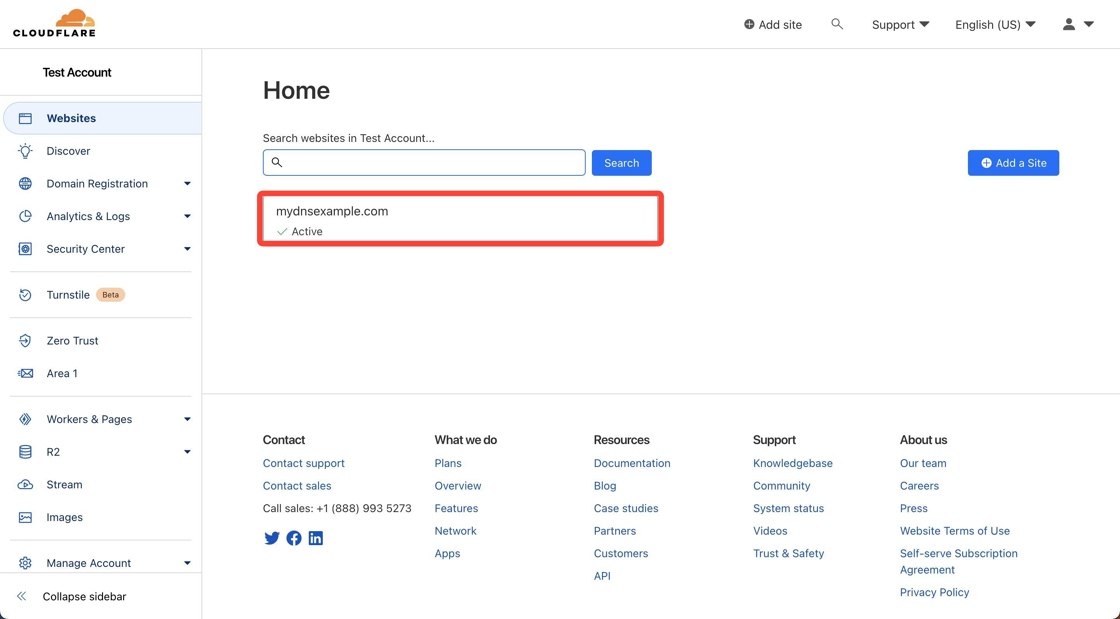
Step 6: Once the "website" is added, you'll see your domain listed on the Website homepage. It will not show "Active" with a green checkmark until you add Cloudflare's NS records to your Domain Registrar. You can find your domain's specific Cloudflare NS records by following the steps outlined in this article. For the specific information of how/where to add the NS records within your Domain Registrar, the Domain Registrar themselves will be the best resource to consult.
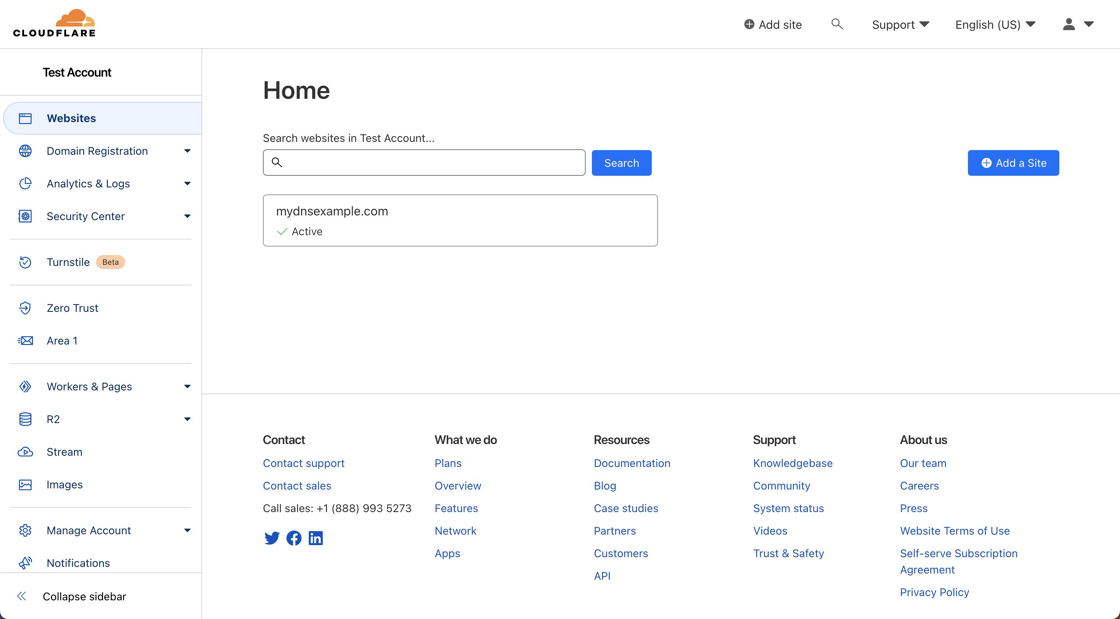
Step 7: Once Cloudflare's NS records have been added to your Domain Registrar and Cloudflare verifies their presence, their site will display the below, which means the domain's DNS hosting is fully configured and active on their system.
Configuring The Domain
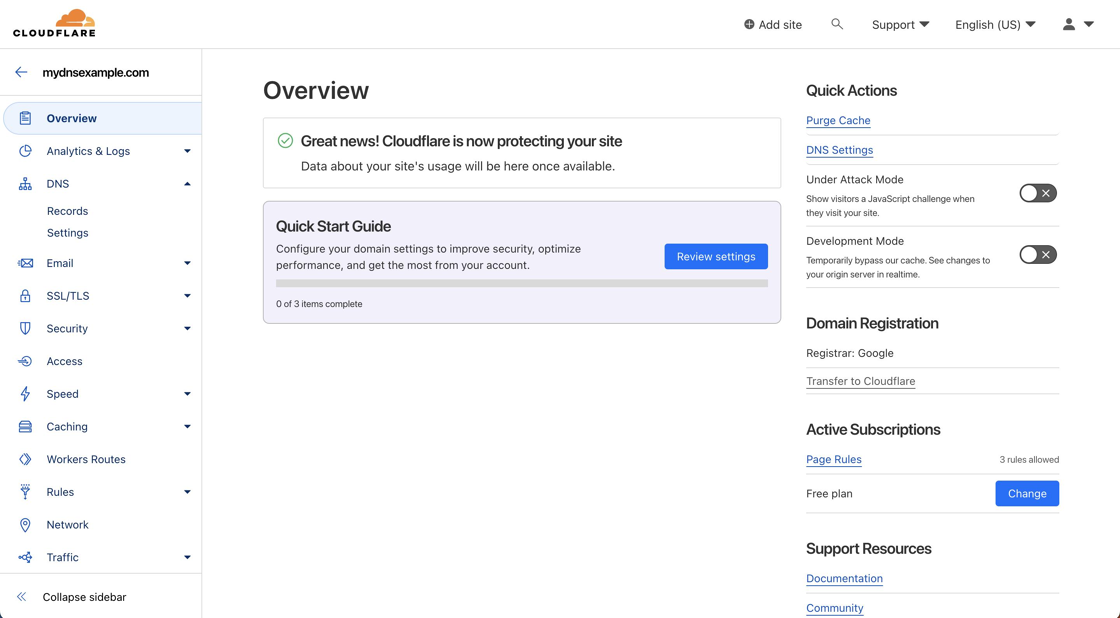
Tip: Once the domain has been added, you may access it in the future using the following steps.
Step 1: If you're shown the Home page upon login, you'll see a list of domains in the center of the page. Click the box that contains the domain name in question.
Step 2: Click the DNS option (or better, the down arrow to it's right) on the left-hand navigation pane. Then, click the Records sub-option.
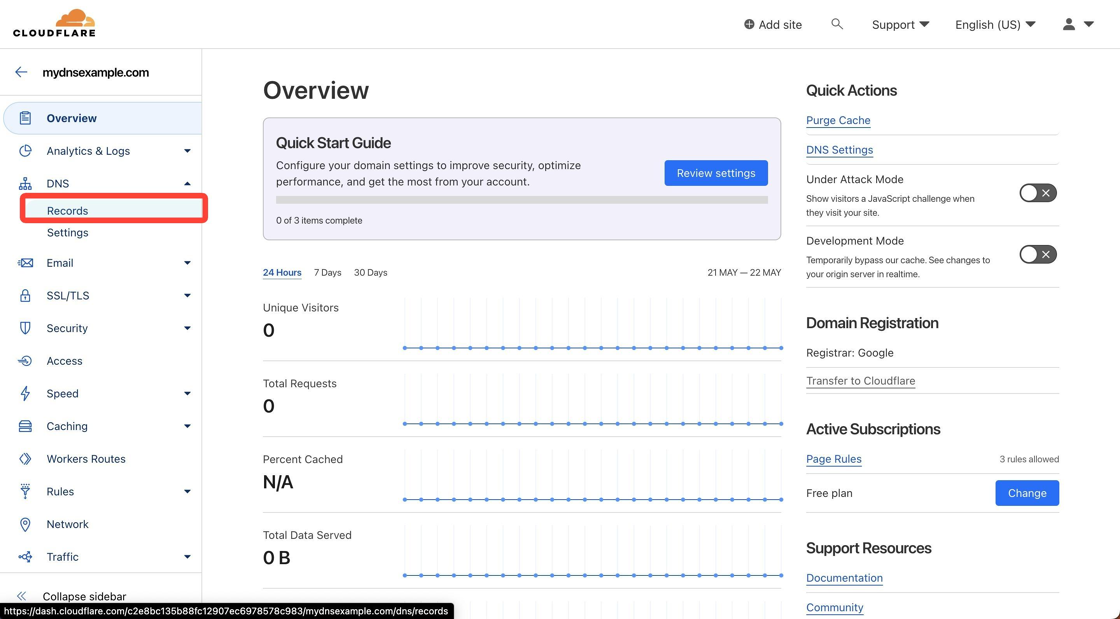
Step 3: View, create, or edit the desired DNS records for the domain.

Configuring SPF
SPF records help protect your domain against spoofed emails and decrease** the likelihood your emails will be flagged as spam. (* Exceptions apply: e.g. actual spam/phishing emails will still be considered as such by mailbox providers even with the presence of an SPF record.)
To understand how to configure SPF records, please reference one or both of the following general CloudFlare Tutorials:
Configuring DKIM
DKIM records help authenticate your domain against forged emails and decrease** the likelihood your emails will be flagged as spam. (* Exceptions apply: e.g. actual spam/phishing emails will still be considered as such by mailbox providers even with the presence of an DKIM record.)
To understand how to configure DKIM records, please reference the following general CloudFlare Tutorials:
Configuring MX
MX records describe where emails intended for your domain should be sent.
To understand how to configure MX records, please reference the following general CloudFlare Tutorials:
Configuring CNAME
CNAME records alias (point or direct) one domain name to another domain name, which in this case effectively associates your emails with Tenon and allows tracking of opens and clicks.
To understand how to configure CNAME records, please reference the following general CloudFlare Tutorial: