Overview
This guide provides a step-by-step approach to creating a comprehensive Brand Kit, essential for establishing a cohesive brand identity. By following the outlined steps, you can easily customize colors, fonts, and social links to reflect your brand's unique style. Whether you're a small business owner or a designer, this resource will help streamline your branding process and enhance your visual communication. Viewing this guide will empower you to create a polished and professional brand presence.
1. Navigate to Brand Kits in the side Navigation and click "+ Brand Kit"

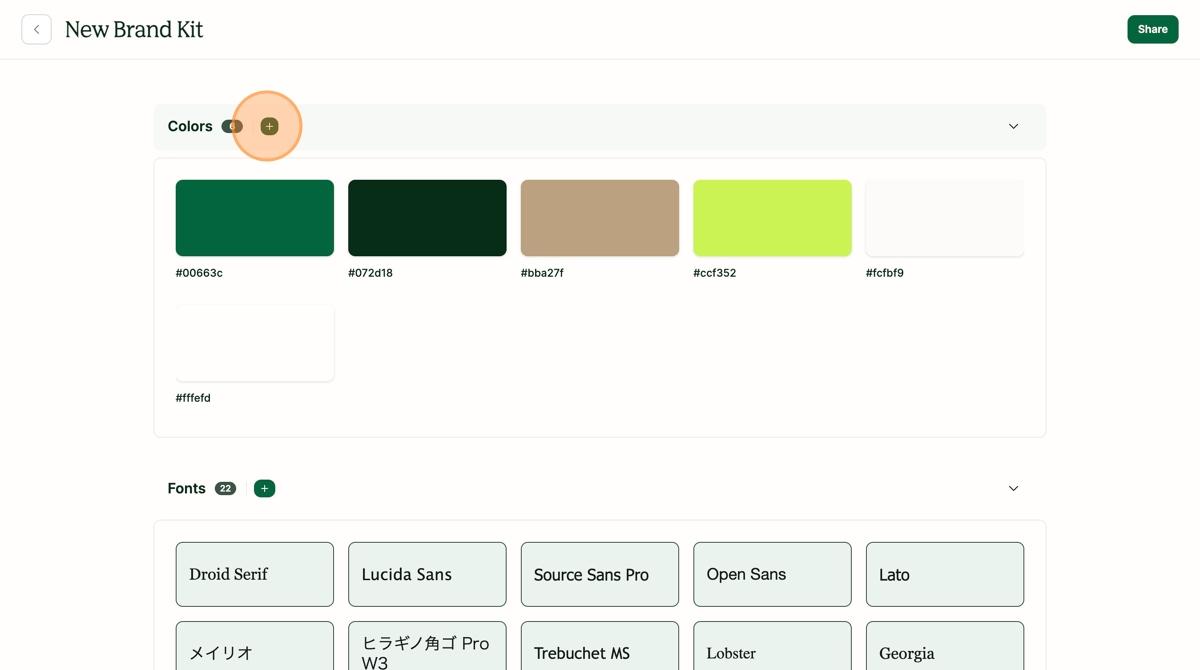
2. In the Colors section click the "+" icon to add a new Color to the Brand Kit.
3. Select the color and click "Save"

4. Click on a Font to enable or disable the Font in the Brand Kit.

5. In the Fonts section click the "+" icon to add a new Font to the Brand Kit.

6. Give the Font a name, add the URL for the Font, and choose a fallback font. Click "Create".

7. Click to choose the Font Size Scale to match your brand preferences.

8. View the scale in different header preview fonts and colors by changing the preview options.

9. View the default Text in different previews of Font, Size, Spacing, and Color.

10. Update the default Button by changing the Font, Text Color, and Background Color.

11. Adjust the Default width for Emails and Pages.

12. In the Social Links section click the "+" icon to add a new Social Link to the Brand Kit.

13. Add the Link Title and URL and click "Create".
